How to Hand-Feed a Small Pet
Hand-feeding, most often done with a syringe, is a crucial skill for any small pet owner or rescue volunteer. It may be necessary when an animal is too sick or weak to eat on its own, is recovering from surgery, or in the case of orphaned neonates who have lost their mother. While it can be a stressful experience for both you and your pet, mastering the proper technique ensures your companion receives the life-sustaining nutrition they need to recover and thrive.1
This guide provides general instructions for hand-feeding small herbivores such as rabbits, guinea pigs, and chinchillas, as well as omnivores and insectivores. Always follow the specific instructions and diet recommendations provided by your veterinarian.
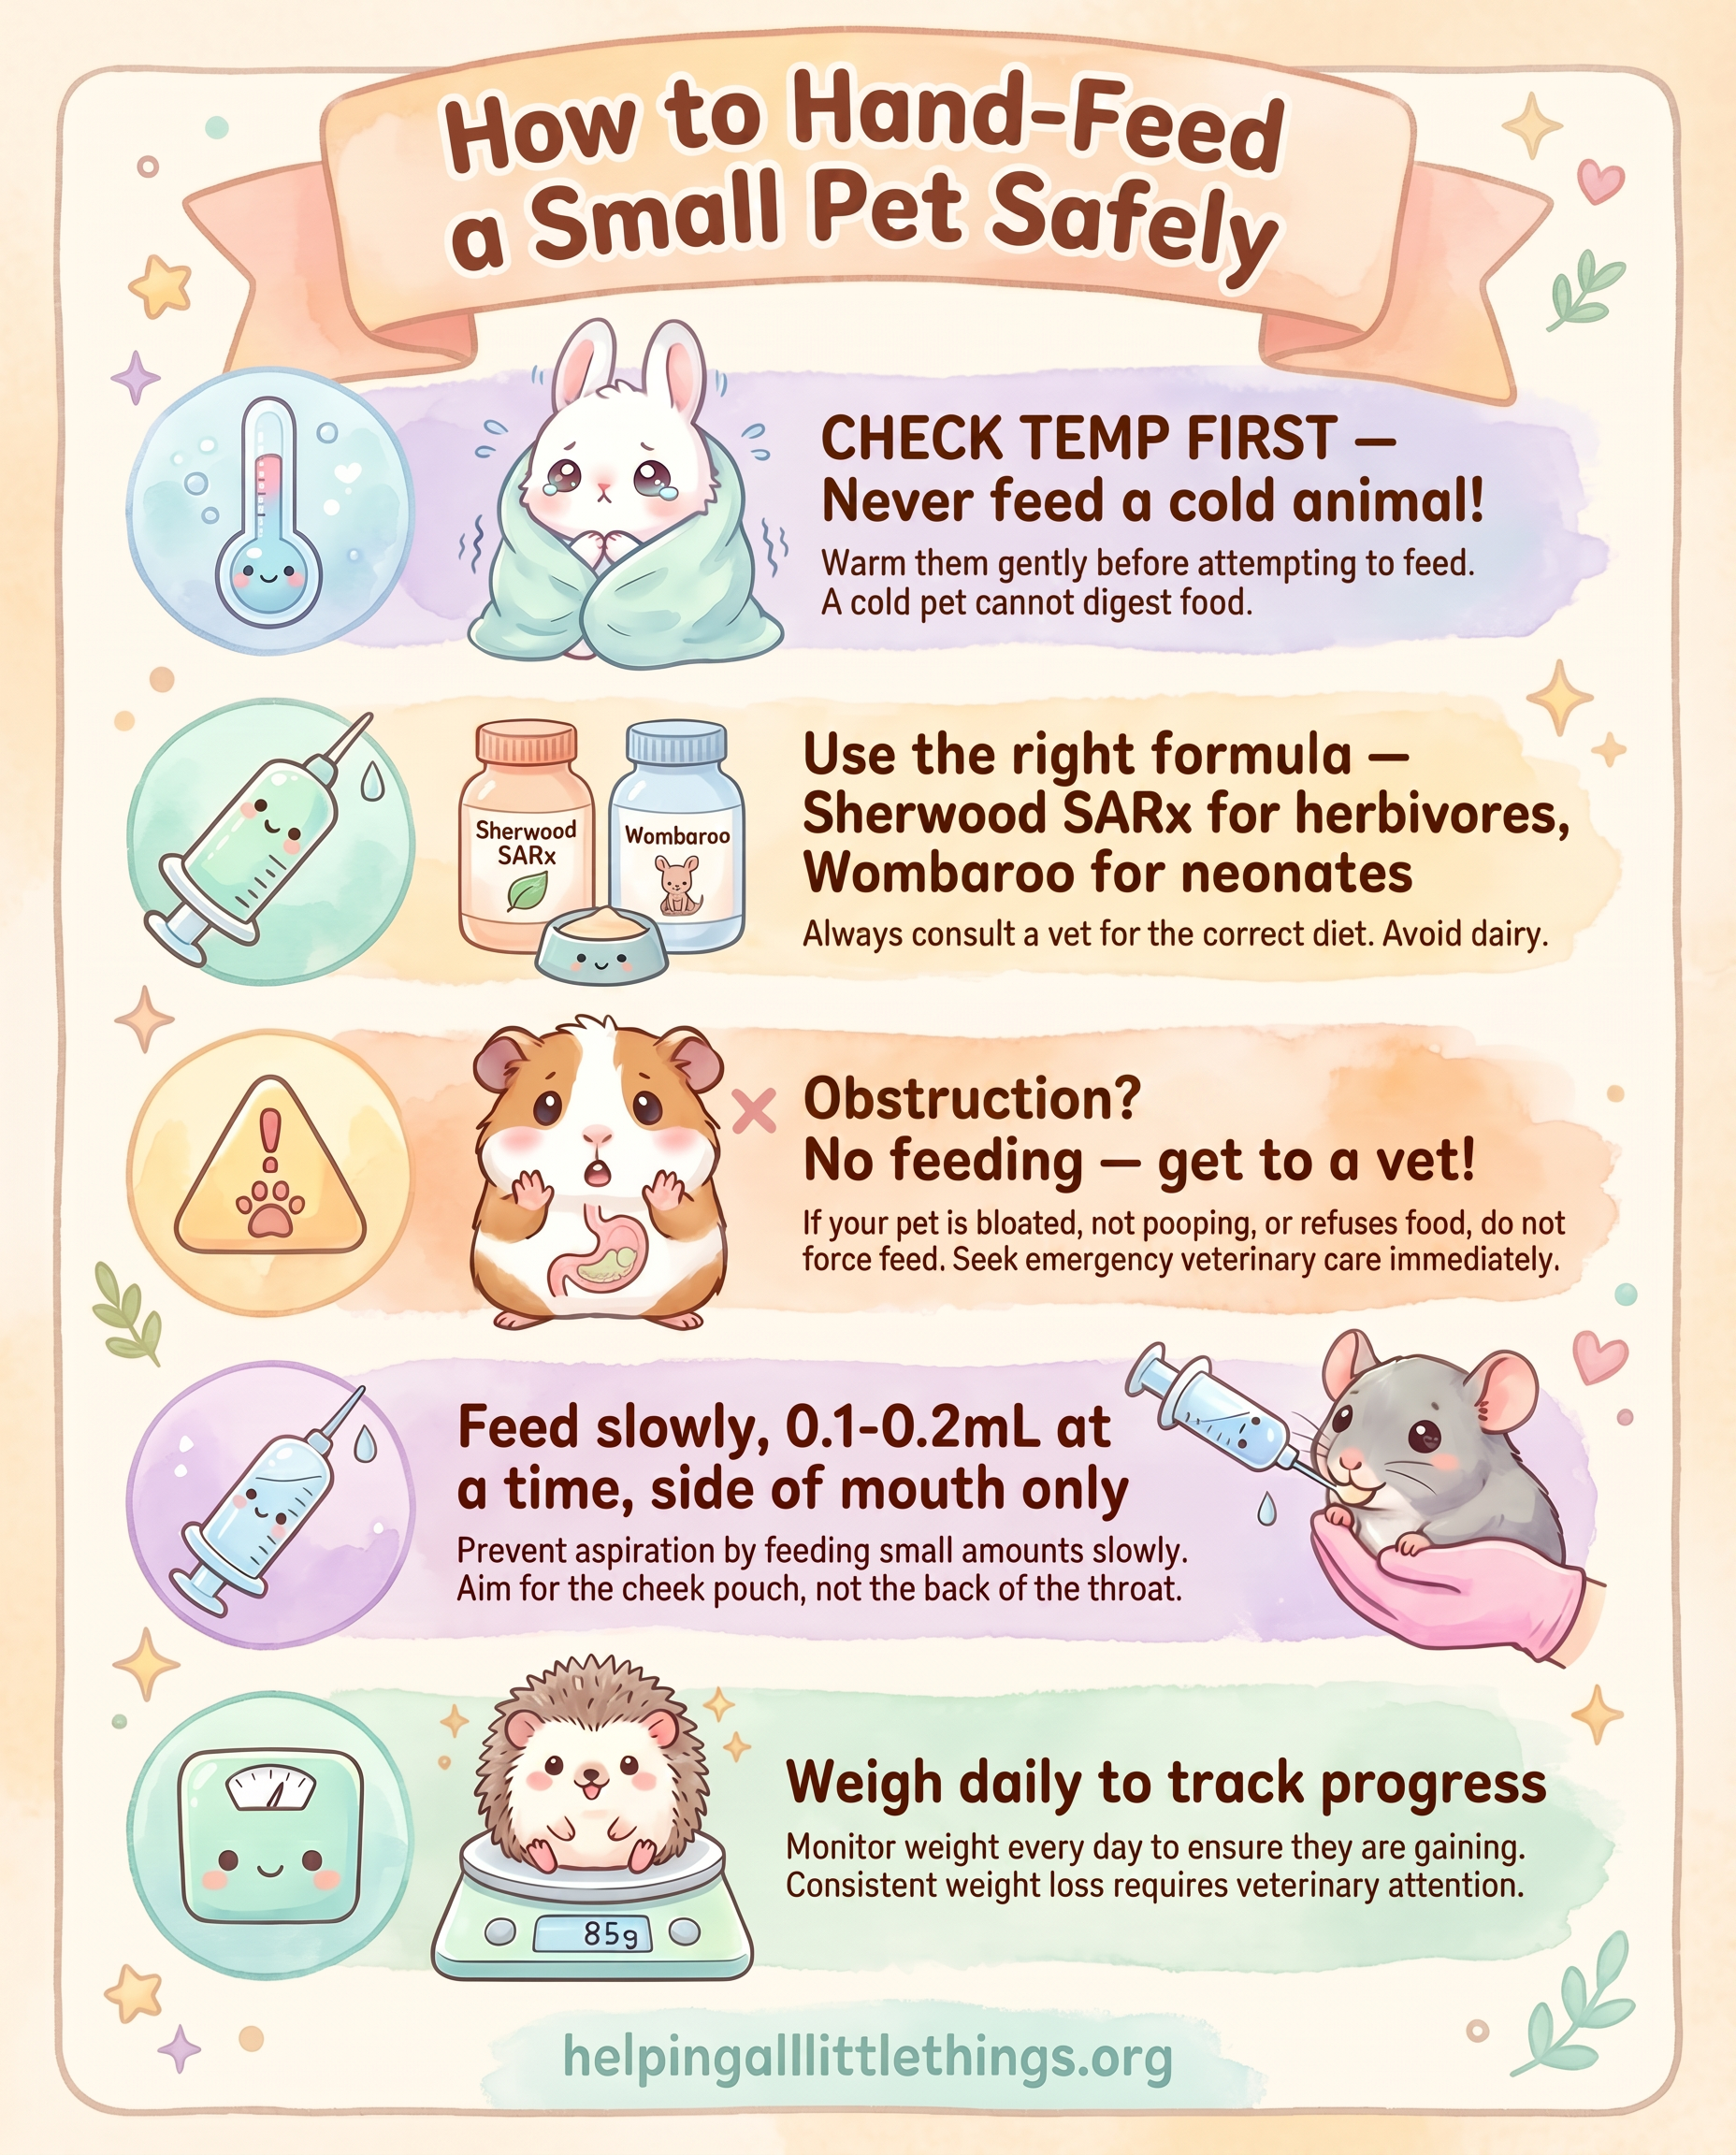
Check your pet's body temperature BEFORE attempting any feeding. A cold animal cannot digest food properly. Feeding a hypothermic small mammal can cause aspiration pneumonia, trigger fatal cardiac arrhythmias, and worsen electrolyte imbalances associated with refeeding syndrome. Warm the animal slowly and gently first — then feed.2 3
When is Hand-Feeding Necessary?
Syringe feeding is a method of nutritional support used when a temporary illness or health problem compromises a pet's appetite.4 Common reasons include:
Anorexia or Illness: When a pet refuses to eat due to sickness, pain, or other medical conditions. Post-Surgery: After dental procedures or other surgeries that make eating difficult or impossible. Weakness or Debilitation: For animals too weak to eat on their own. Orphaned Neonates: For young, unweaned animals without a mother.5
If your pet may have swallowed a foreign object, has a suspected blockage, or is showing signs of GI obstruction (bloating, no fecal output, extreme lethargy, grinding teeth), do not attempt to syringe-feed. Take them to a veterinarian immediately. Feeding into a blocked digestive tract can cause rupture.
Step 1: Check Temperature First
Before you prepare any food, you must assess whether your pet is warm enough to be fed safely. A small mammal that is cold to the touch, limp, or unresponsive is likely hypothermic and must be warmed before feeding.
Normal Body Temperature Ranges
The following table shows normal adult body temperatures for the species most commonly cared for at HALT.6
| Species | Normal Temperature (°C) | Normal Temperature (°F) |
|---|---|---|
| Rat | 37.5–38.0 | 99.5–100.4 |
| Guinea Pig | 37.2–38.6 | 99.0–101.5 |
| Rabbit | 38.0–39.6 | 101.3–103.0 |
| Hamster | 36.1–38.9 | 97.0–102.3 |
| Gerbil | 37.4–38.2 | 99.3–100.8 |
| Chinchilla | 37.0–38.0 | 98.5–100.4 |
| Degu | 38.3 | 100.9 |
| Ferret | 37.8–39.4 | 100.0–103.0 |
| Hedgehog | 35.4–37.0 | 95.7–98.6 |
Neonates (newborns) cannot regulate their own body temperature and depend entirely on their mother or a heat source to stay warm. Their target ambient temperature is typically 30–33°C (86–91°F) for the first week of life, gradually decreasing as they develop fur and thermoregulatory ability.7 A neonate that feels cool to the touch is always hypothermic and must be warmed before any feeding attempt.
How to Check Temperature
The most accurate method is a rectal thermometer (digital pediatric thermometer), lubricated with a small amount of petroleum jelly and inserted no more than 1–2 cm. However, this is stressful for small animals and is best performed by a veterinarian or experienced rescuer.
For home assessment, an infrared (non-contact) thermometer aimed at the inner ear, axilla (armpit), or abdomen can give a quick estimate, though it is less precise than rectal measurement. As a practical guide: if the animal feels cold to your hand, or its extremities (ears, feet, tail) are cold and pale, treat it as hypothermic.
How to Warm a Hypothermic Animal Safely
Rapid rewarming causes peripheral vasodilation, which can drop blood pressure suddenly and trigger cardiovascular collapse. Never place a small animal directly on a heating pad, under a heat lamp, or in warm water. The goal is a gradual, gentle increase in core temperature.8
Safe warming methods include:
- Wrapping the animal loosely in a soft fleece or towel and holding it against your body (skin-to-skin or chest warmth).
- Placing the animal in a small box or carrier lined with fleece, set on top of a heating pad on its lowest setting, with the pad covering only half the floor so the animal can move away if too warm.
- Using a warm-water bottle or microwaveable heat pack wrapped in a towel — never in direct contact with skin.
Aim to raise body temperature gradually over 30–60 minutes. Once the animal is warm, alert, and showing interest in its surroundings, it is safer to begin feeding. If the animal does not respond to warming within 20–30 minutes, or if it is severely debilitated, contact a veterinarian or experienced rescuer immediately.
Step 2: Choose the Right Formula
The formula you use depends on the species and the reason for feeding.
For Sick or Post-Surgery Adults (Herbivores)
For adult rabbits, guinea pigs, chinchillas, and degus that are ill or recovering from surgery, a critical care recovery food is the appropriate choice. These are complete, syringe-ready foods designed to maintain gut motility and provide balanced nutrition.
Sherwood SARx Recovery is a grain-free, soy-free, species-specific recovery formula available for rabbits, guinea pigs, and chinchillas. It is formulated to restore normal cecal fermentation patterns and support gut motility, making it particularly valuable after GI stasis or dental surgery. Mix 1 tablespoon of powder with 3 tablespoons of warm water. A companion product, SARx Rescue (Appetite Restore), is a fast-acting water-soluble nutrient mix that can be given first to stimulate appetite before transitioning to the Recovery food.9
Oxbow Critical Care (Herbivore or Fine Grind) remains a widely available and well-regarded option for herbivores and is suitable when SARx is not accessible. Mix according to package directions (typically a 1:2 or 1:3 ratio of powder to warm water).10
For Omnivores and Insectivores
For rats, hamsters, gerbils, and ferrets that are ill or recovering, a suitable recovery food is more difficult to source. Options include:
- Oxbow Critical Care Omnivore — formulated for omnivorous small mammals.
- High-quality wet food (e.g., a small amount of plain cooked chicken, scrambled egg, or a quality wet cat food) blended with warm water to a syringe-able consistency, as directed by a veterinarian.
For hedgehogs, consult your veterinarian, as their insectivore diet requires specialist guidance.
For Orphaned Neonates (Milk Replacers)
Neonates require a species-matched milk replacer, not adult recovery food. Using the wrong formula can cause fatal digestive failure. Never use cow's milk, goat's milk, or human infant formula.
Wombaroo produces scientifically formulated, species-specific milk replacers imported from Australia and widely regarded as the gold standard for wildlife and exotic animal rehabilitation.11 The following formulas are available:
| Species | Recommended Wombaroo Formula |
|---|---|
| Rabbit | Wombaroo Rabbit Milk Replacer |
| Guinea Pig | Wombaroo Guinea Pig Milk Replacer |
| Squirrel | Wombaroo Squirrel Milk Replacer |
| Hedgehog | Wombaroo Insectivore Rearing Mix |
| Rat, Mouse, Hamster, Gerbil | Wombaroo Dog Milk Replacer (Puppy) — last resort; consult a vet |
| Chinchilla, Degu | Wombaroo Dog Milk Replacer (Puppy) — last resort; consult a vet |
| Ferret | Wombaroo Dog Milk Replacer (Puppy) — last resort; consult a vet |
Wombaroo Dog Milk Replacer (Puppy formula) is sometimes used for small rodents, ferrets, and other species when a species-specific formula is unavailable. It is not ideal and should only be used under guidance from a veterinarian or experienced wildlife rehabilitator. Always seek a species-specific formula first.
Wombaroo products are available through specialty pet retailers and wildlife rehabilitation suppliers. In the US, Henry's Pets stocks a range of Wombaroo formulas.
Feeding frequency for neonates varies by species and age, but most require feeding every 2–4 hours around the clock in the first week of life. Consult a wildlife rehabilitator or exotic vet for a species-specific schedule.
Refeeding Syndrome Warning
If an animal has been without food for more than 24–48 hours, or is severely emaciated, it is at risk of refeeding syndrome — a potentially fatal metabolic condition caused by the rapid reintroduction of nutrition after starvation.12
Signs of refeeding syndrome include lethargy, weakness, rapid heart rate, diarrhea, seizures, and collapse. To reduce the risk:
- Start with diluted formula (more water than usual) and smaller volumes than normal.
- Increase concentration and volume gradually over 48–72 hours.
- Seek veterinary guidance before feeding any animal that has been starved for an extended period.
Step 3: Prepare the Formula
Mix only enough formula for a single feeding — prepared formula spoils quickly and should not be stored for more than a few hours even under refrigeration. Use warm (not hot) water; the mixture should feel comfortably warm on your inner wrist, approximately 37–38°C (98.6–100.4°F). A formula that is too hot can burn the mouth and esophagus.
Draw the mixed formula into a 1 mL or 3 mL syringe for most small pets. For thicker formulas, a syringe with a wider tip or a catheter-tip syringe may be needed. Remove any air bubbles from the syringe before feeding.
Step 4: The Feeding Technique
The goal is to make this a positive, or at least neutral, experience. Stay calm and patient throughout the process.
Secure Your Pet
Gently wrap your pet in a soft towel or fleece, creating a "burrito." This keeps them secure, prevents them from wiggling away, and protects you from being scratched. Hold your pet in your lap or on a stable, non-slip surface at a comfortable height.
Position the Syringe Correctly
Do not insert the syringe directly toward the back of the throat — this is the most common cause of aspiration. Instead, gently introduce the tip of the syringe into the side of the mouth, in the gap (diastema) just behind the front incisor teeth.13 Angle the syringe slightly downward toward the tongue, not upward toward the palate.
Dispense Food Slowly
Dispense a very small amount of food (approximately 0.1–0.2 mL) at a time. Allow your pet to chew and swallow completely before offering more. Rushing is the most common cause of aspiration, which can be fatal.14
Watch for your pet's natural chewing and swallowing movements. If they start to struggle, sputter, or resist, pause immediately and allow them to recover. If coughing, labored breathing, or blue-tinged gums appear, stop feeding and contact a veterinarian at once — these are signs of aspiration.
Continue Until the Meal is Finished
Continue this slow, patient process until the prescribed amount of food has been given. This may take 15–30 minutes or longer for a full feeding. After the feeding, gently clean any food residue off your pet's face and fur with a warm, damp cloth to prevent skin irritation and matting.
Important Considerations
Never force-feed. If your pet is truly resisting, clamping their mouth shut, or showing signs of severe distress, do not force them. Stop the feeding and contact your veterinarian for advice.
Keep your pet warm. Sick or young animals lose body heat quickly. Ensure they are kept in a warm, comfortable environment before and after feeding — but avoid overheating, which is equally dangerous.15
Monitor for complications. Watch for coughing, sputtering, or difficulty breathing (aspiration); bloating or no fecal output (GI stasis or obstruction); and lethargy, seizures, or collapse (refeeding syndrome or hypothermia). Any of these signs require immediate veterinary attention.
Weigh your pet daily. A small kitchen scale accurate to 1 gram is invaluable for tracking whether a hand-fed animal is gaining or losing weight. Even small changes can indicate whether the feeding plan needs adjustment.
If you have found an animal and are unsure whether it is safe to feed, do not attempt to feed it until you have spoken to a veterinarian or qualified wildlife rehabilitator. See our guide: Help, I Found a Pet! for what to do first.
Hand-feeding is a powerful tool to help a beloved pet through a difficult time. By following these steps carefully — and always warming before feeding, choosing the right formula, and feeding slowly — you give your companion the best possible chance of a full recovery.